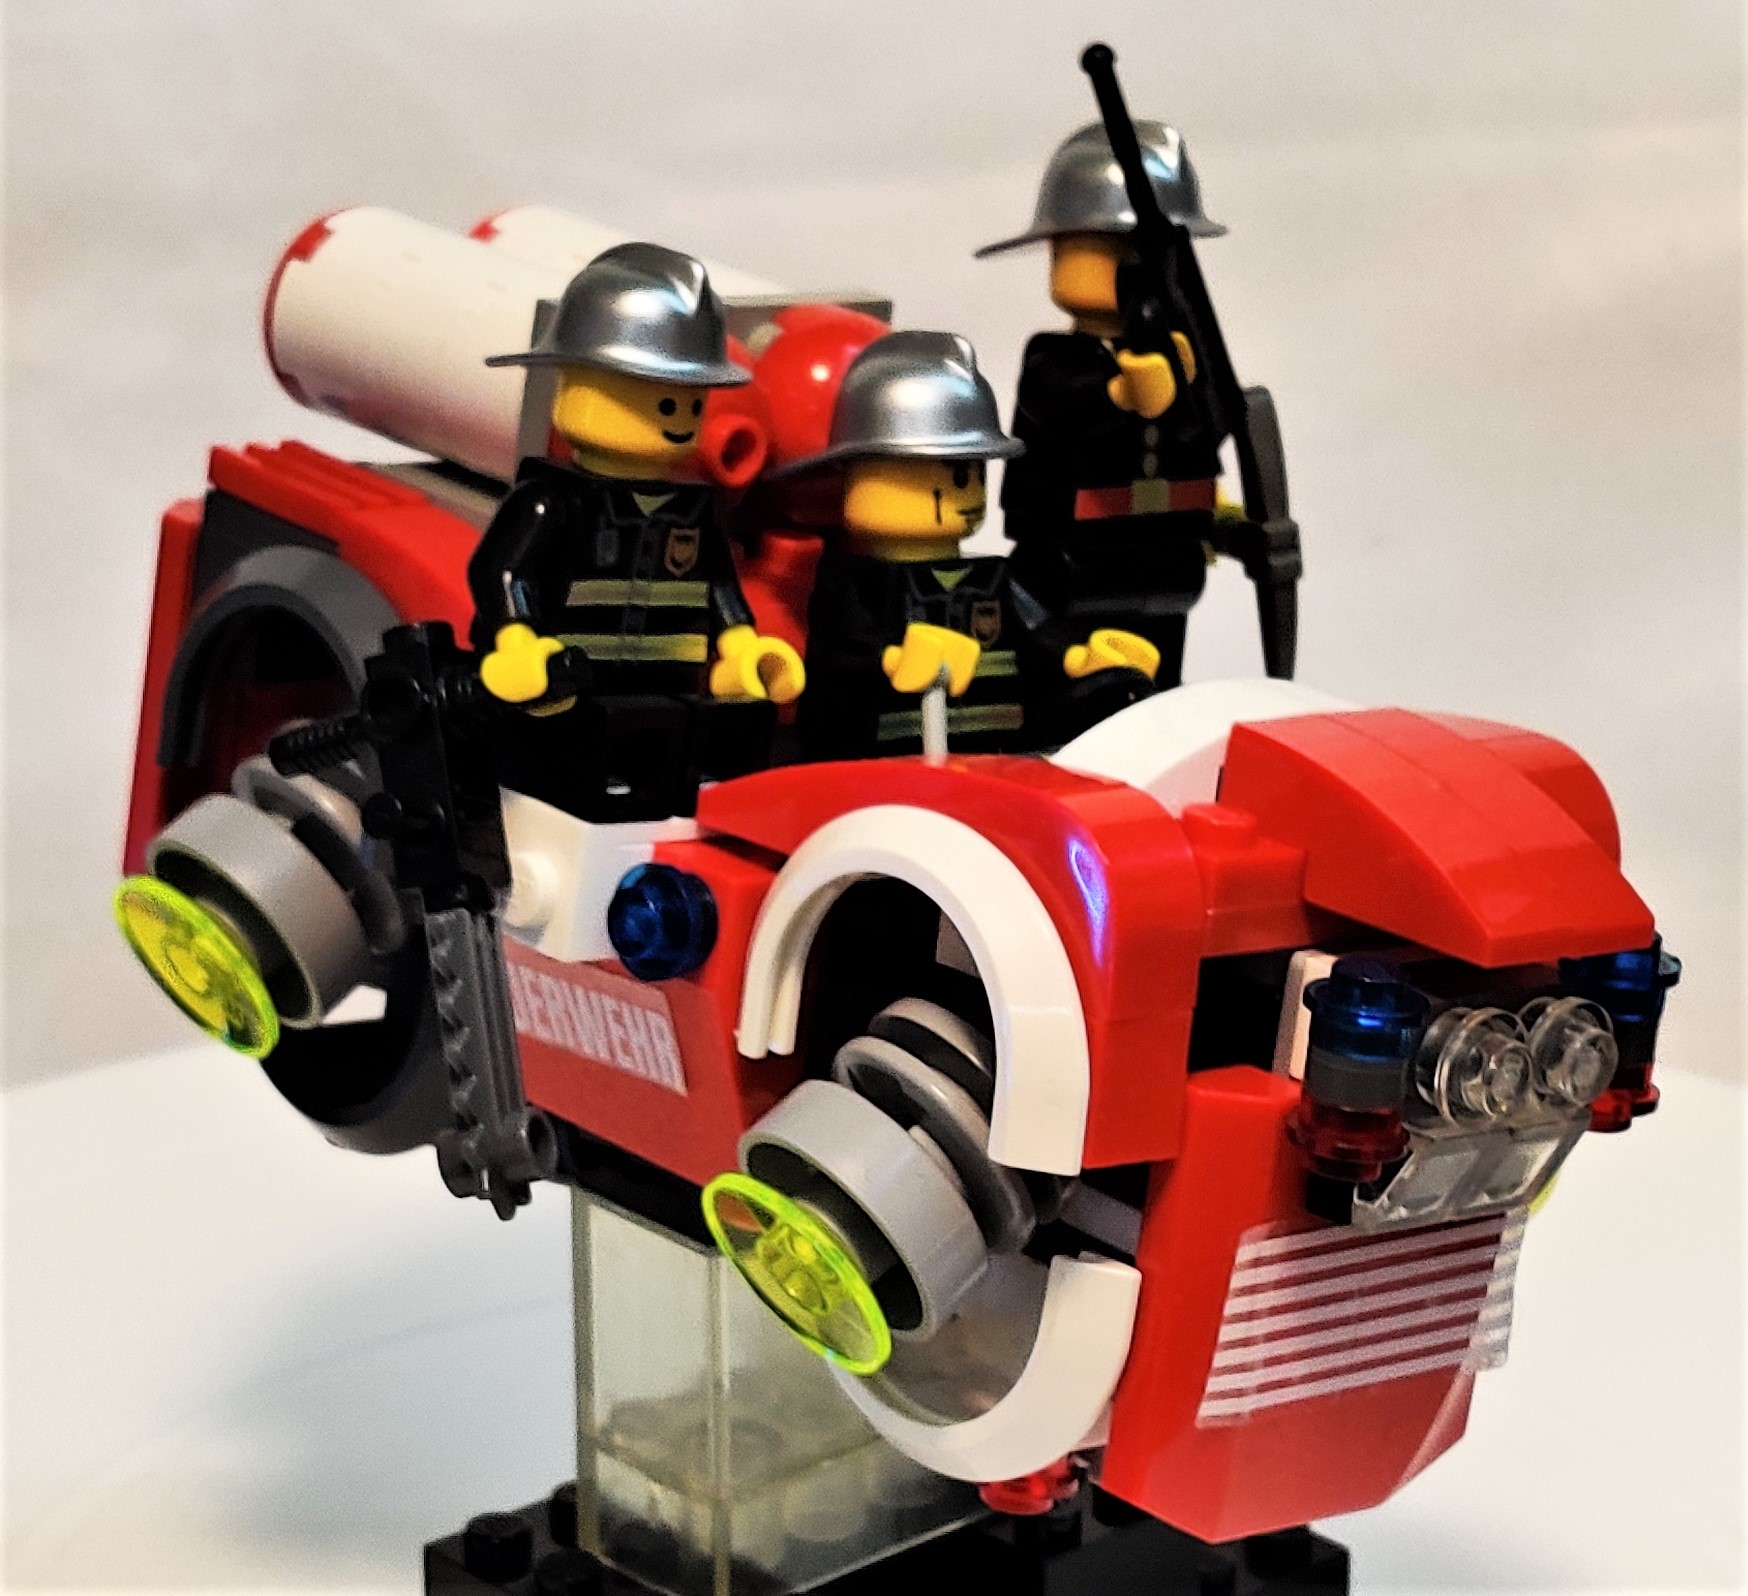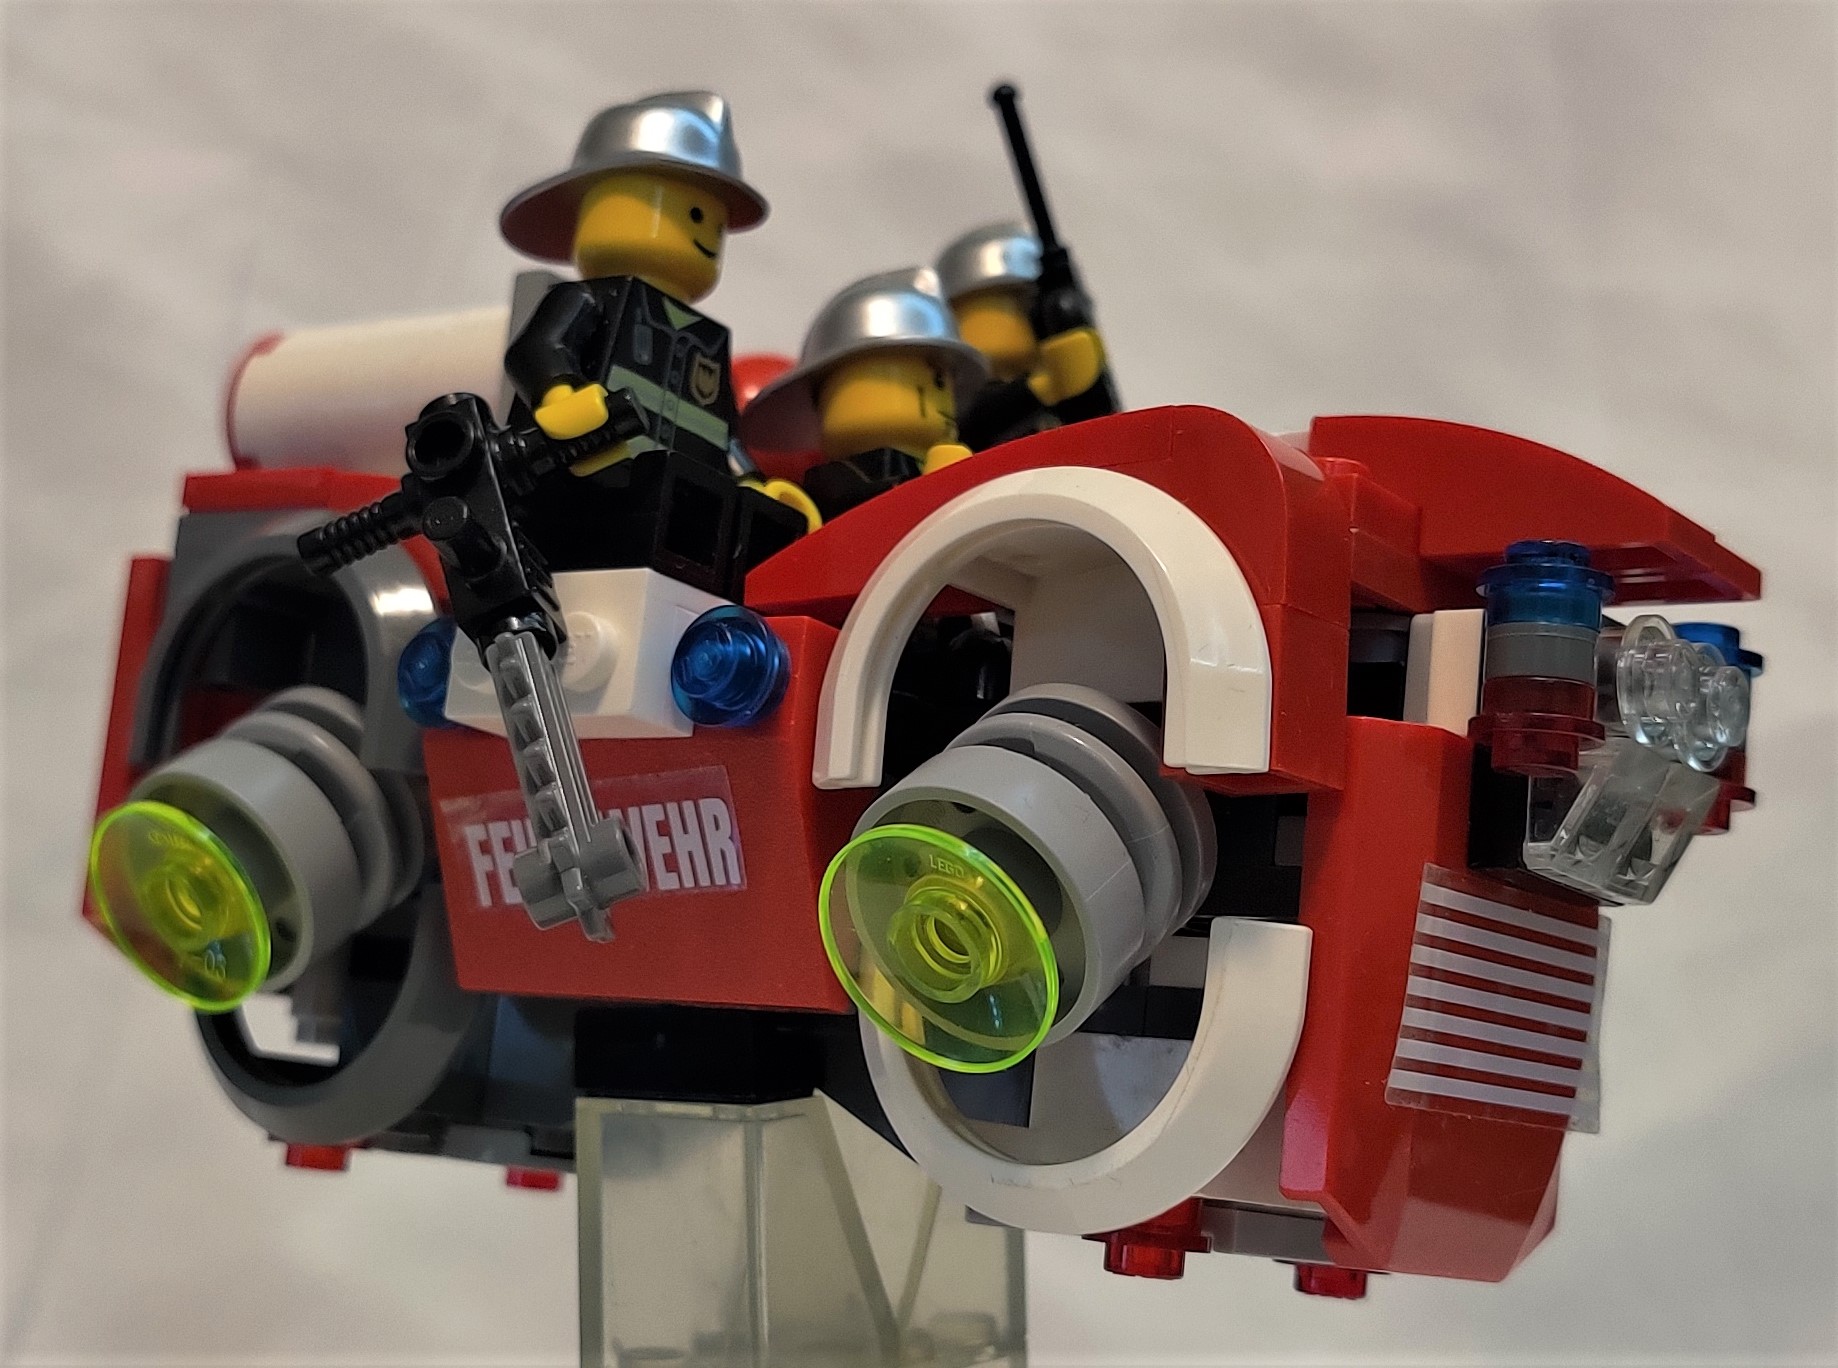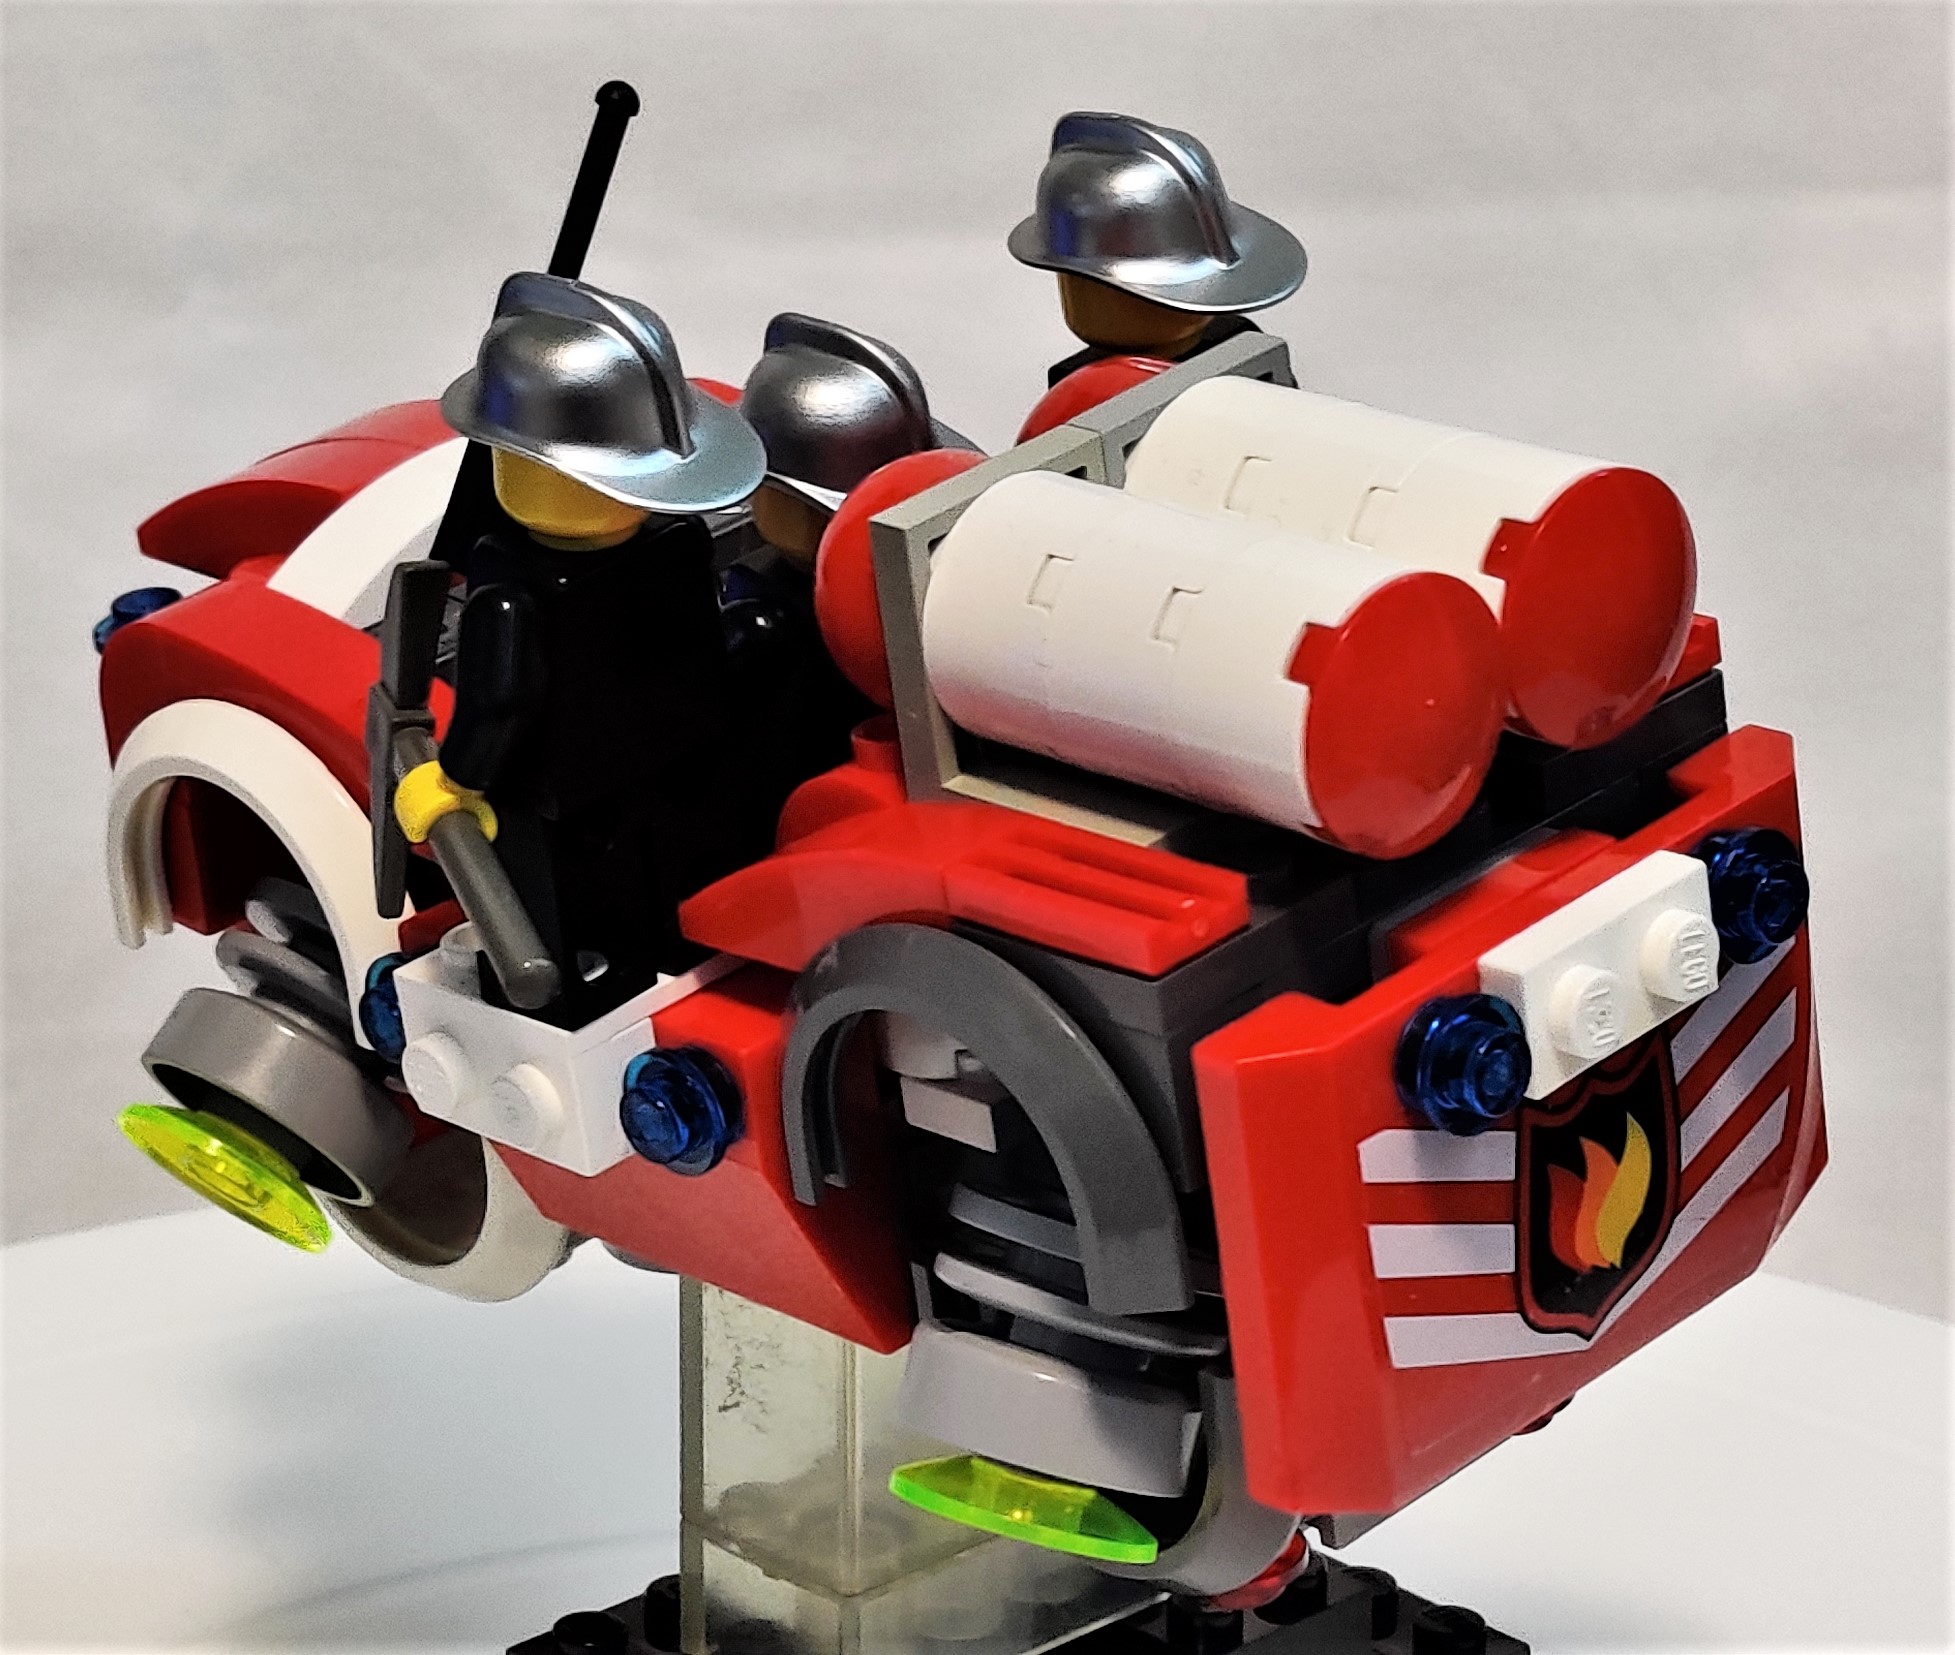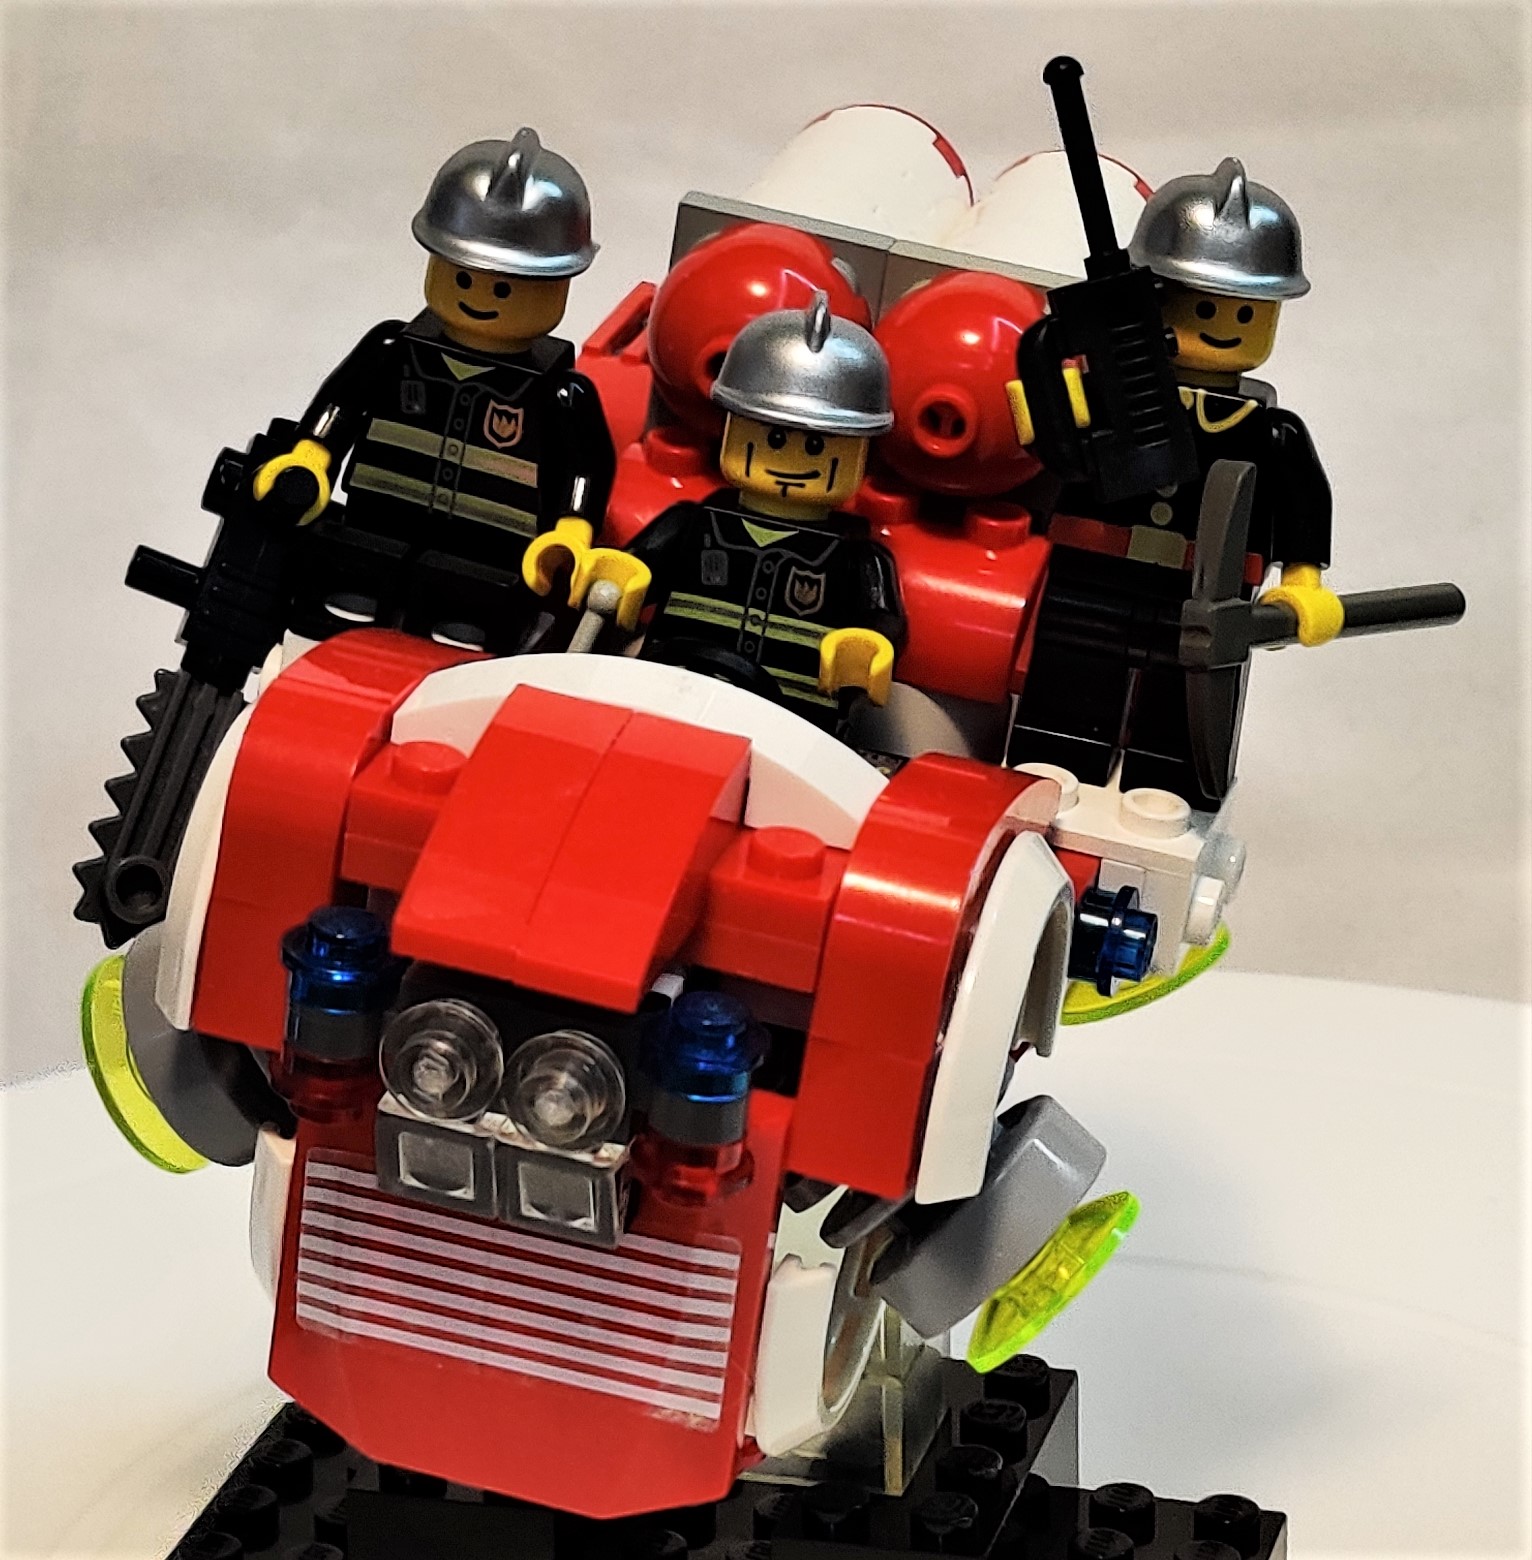
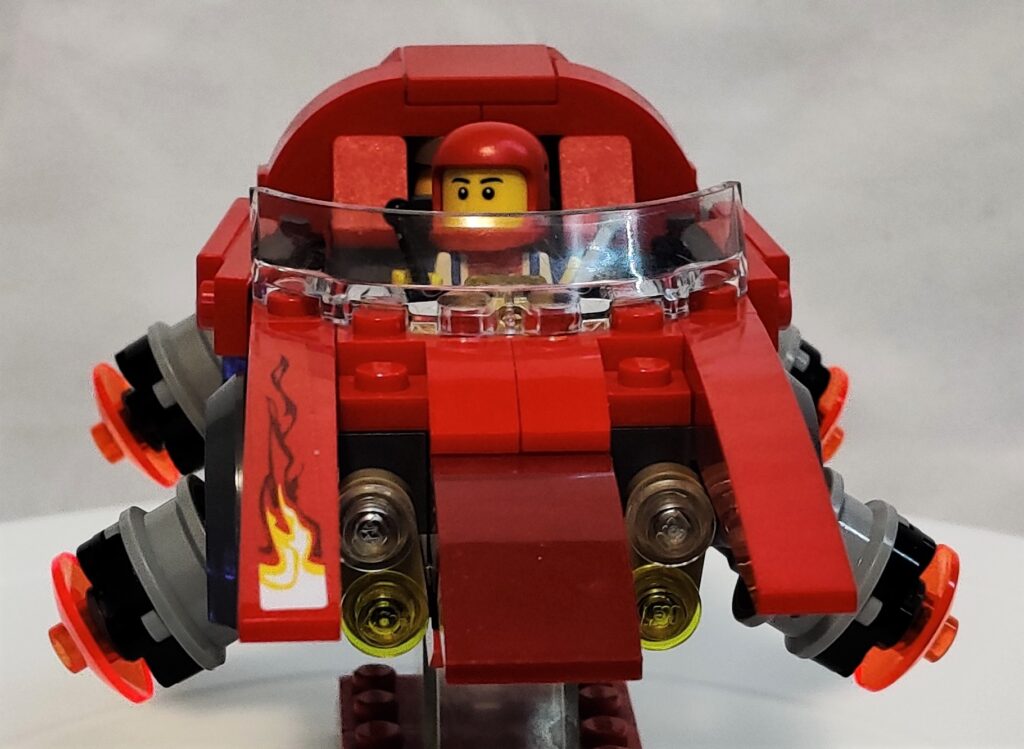
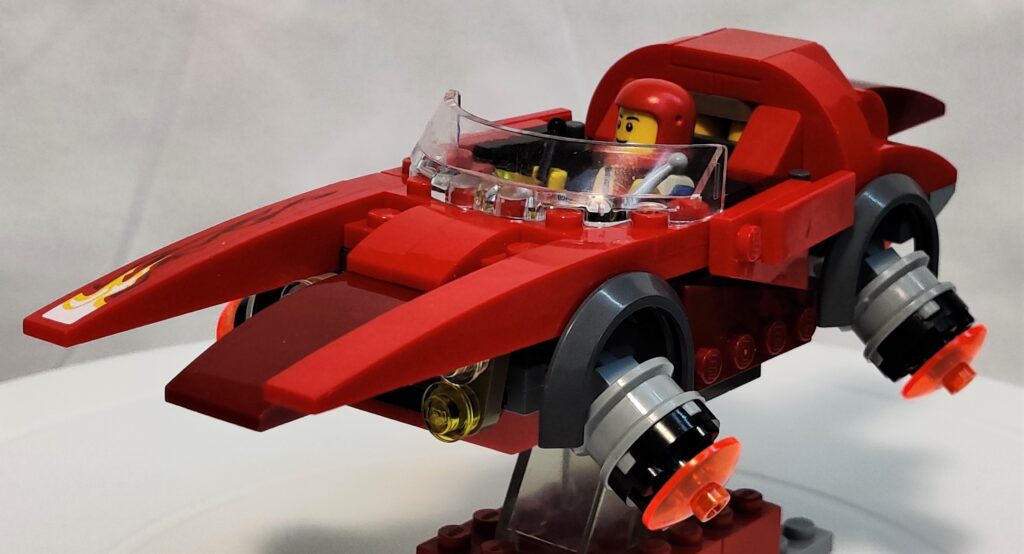
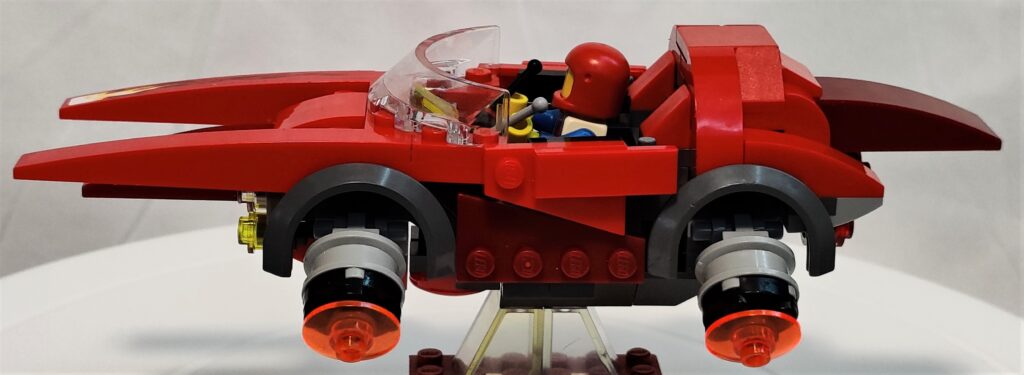
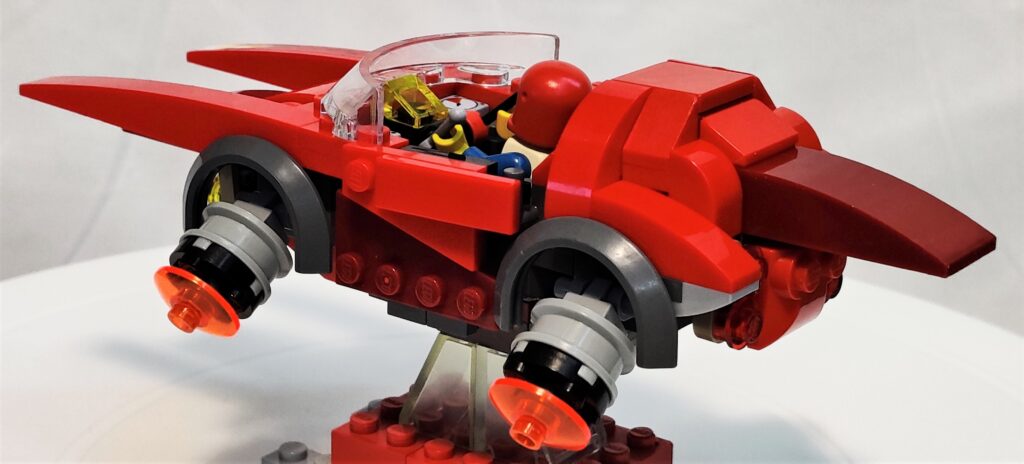
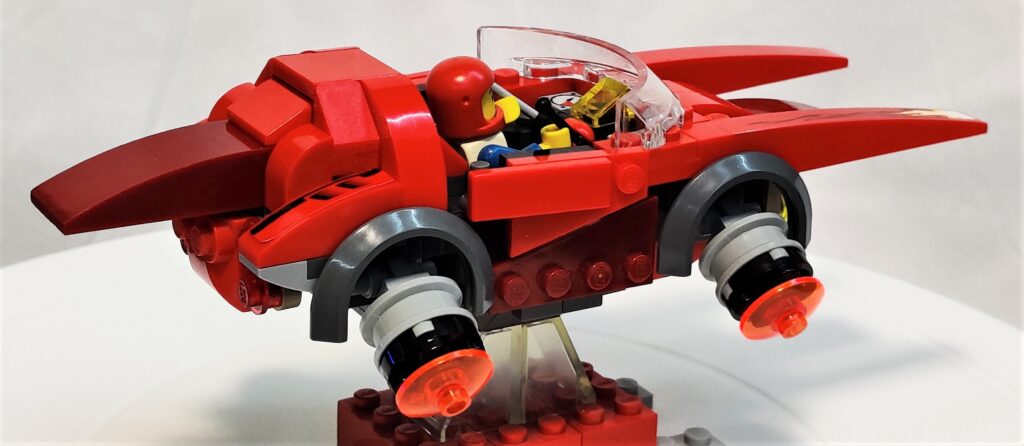
Once I had a firetruck, I thought I might want something faster. The long slope with the sticker was spotted while sorting and it started to come together. I have the Ford GT from Speed Champions and was interesting in trying to use the side slope leading to an air intake technique. I realized that is 6 studs long and I was only 4, also starting a little closer to the pilot and didn’t get the same effect. I wound up swapping out the parts for a clip instead of a hinge and it kinda works as a door now. I redid this one a few time to clean up the back and really get the sides to work with the colored angle bits.
Blog
-
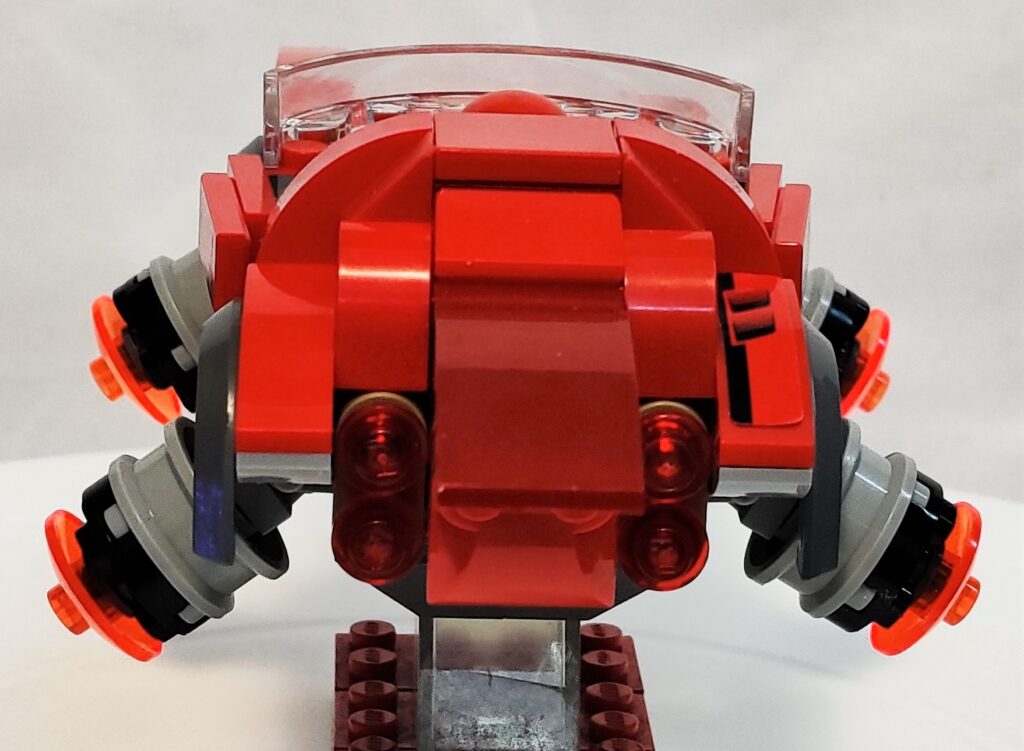
Floating Firetruck


I was sorting my LEGO over the holidays and I starting thinking I wanted to make a floating car or truck. The wheel-arch piece spoke to me while organizing, then I found the front plate and the Firetruck just came together!
-
Managing Containers with Portainer
I’ve detailed how to get Portainer and a Portainer Edge agent installed on two separate hosts, but now what?
To add containers, I think using Stacks is the way to go. You can see an overview of Stacks here. Additionally, if you are cool with the defaults, there are pre-built Stacks labeled as App Templates. These are Docker Compose files for common open-source sites and services that Portainer put together for you. I have made a few of these myself!
These Stacks can be fairly generic and then you add in an ENV file to give your specific values. Of course you can also reference the standard environmental variables provided by Docker.
The trickiest thing was figuring out the volumes. Sometimes I need something pointed to a Docker location, or something on my Docker host, but mainly I’m trying to keep critical, persistent data on my NAS. Reading thru the official documentation gave me some hints but it was StackOverflow to the rescue!
o: addr=mediaserver,nfsvers=4,nolock,soft,rwIn the options, you need the IP (or DNS name) of the NAS server, the version of NFS used, “nolock,soft” helps with asynchronicity, and you want to allow read and write.
Once you have what is basically a Docker Compose file, you can just “add stack”, select or enter your details, add your environmental variables and values, and BANG, you have one or more containers!